Failure one: there is no membrane, or it stops too low
Tiles are not waterproof and grout certainly is not. Water passes through a tiled surface routinely, which is fine, because it is supposed to be caught by a membrane underneath and taken back to the drain.
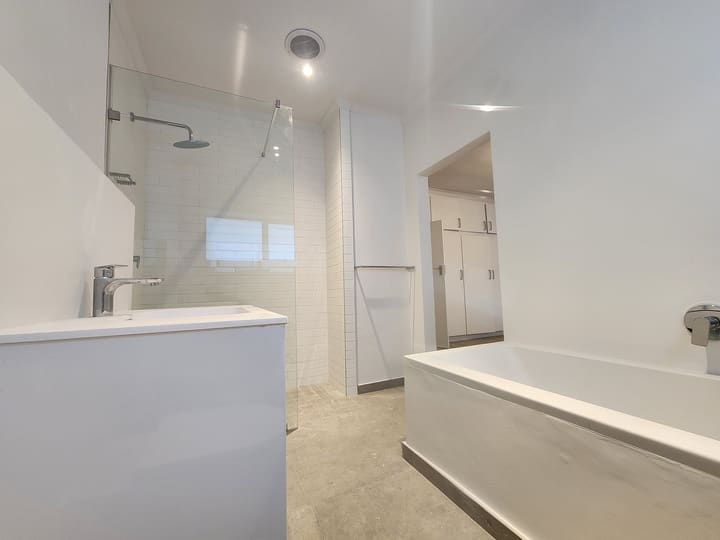
The common failure is a membrane applied to the floor only, or turned up the wall by a token hundred millimetres. In a shower, water runs down the wall. The membrane needs to go up the wall to above the shower head height in the wet zone, and it needs to carry across the door reveal, because that is the threshold water actually crosses.
Failure two: the floor does not fall to the outlet
A shower floor has to be screeded to a consistent fall so that everything drains. A flat floor, or one with a low spot away from the drain, holds water permanently against the membrane and the grout. That is how you get the black staining in one corner that never goes away no matter what you scrub it with.
Falls are cut into the screed, not created by the tiles. If a builder tells you the tiler will 'take up the fall', that is a warning sign.
Failure three: penetrations were never sealed
Every pipe, mixer body, drain and fixing that passes through the waterproofing is a hole in it. Each one needs to be individually sealed and dressed into the membrane. This is fiddly, unglamorous work, and it is where a rushed job cuts a corner that will not be visible for two winters.
What correct looks like, in order
The sequence matters as much as the materials. Done in this order, a bathroom lasts decades.
- Strip back to a sound substrate, removing any failed screed or membrane
- Rough in and pressure-test the plumbing before anything is closed
- Screed to a measured, consistent fall towards the outlet
- Apply a liquid membrane, up the walls in the wet zone and across the door reveal
- Individually dress and seal every penetration
- Flood test: plug the outlet, fill it, leave it overnight
- Only then tile, on a grid set out in advance
The flood test is the whole point
It costs a day. It is the only step in the process that actually proves the waterproofing works before it is buried under tiles. Ask any bathroom contractor whether they flood test. The answer tells you what kind of job you are buying.
On the coast, add corrosion to the list
Salt air gets into bathrooms through extraction and open windows. Cheap chrome pits, and the plated finish on budget mixers and rails will not survive close to the sea. Spend on the fittings that live in the wet zone and save elsewhere.
Written by Edward Whelan, Spoednik Construction · Updated August 2026